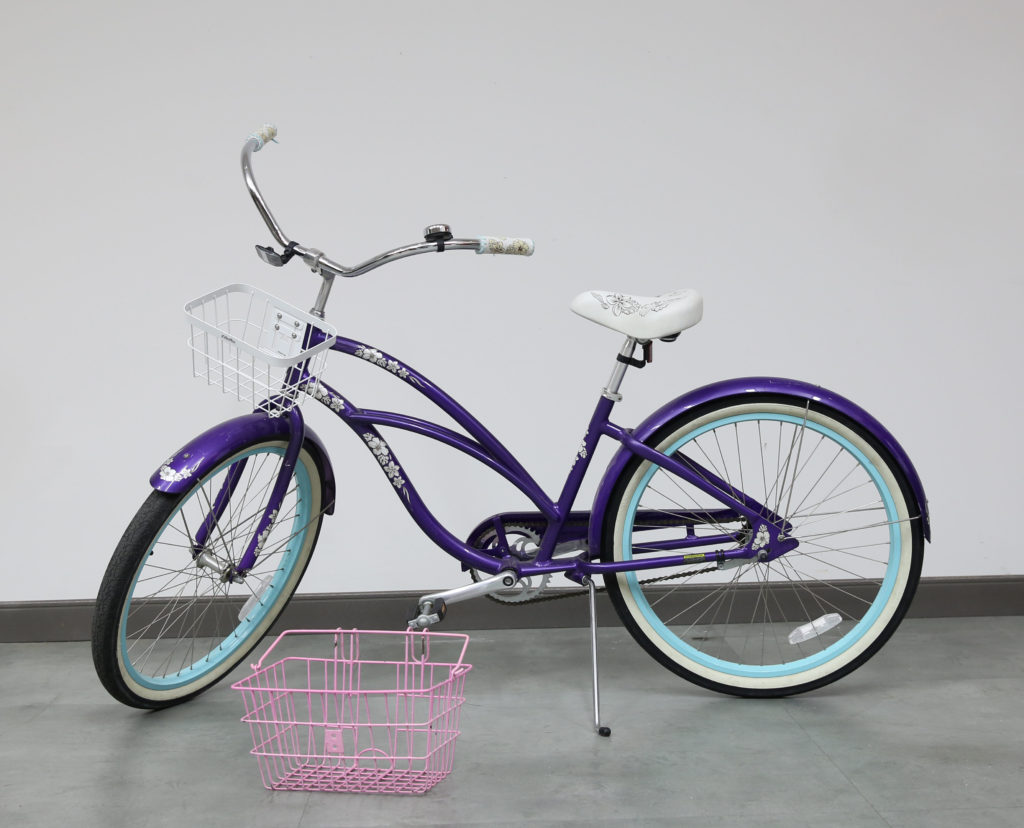
I honestly don’t know how old my bike is, but it feels like I have had it forever. It’s the bike that I first bought when I discovered how much I enjoyed morning rides along the beach boulevard. I love bike riding, and the past few months I rode my bike more than other years past. Not only did I take it to the beach to ride, I started riding it around my neighborhood, to the grocery store and on unfamiliar paths that I was delighted to explore. My bike gave me something to do, it kept me sane.
It wasn’t until a friend of mine mentioned she was going to attend a local bike parade and wanted me to join her. That is when I realized just how beat up my bike was. I cringed. The colour I once loved was now too shiny and fading in areas. The frame of my bike was beat-up with scratches and dents. The flower print that was once white had turned yellow over time. And the basket was much too small. I wanted a new bike, but because my bike was still in good riding condition, I couldn’t justify the spend. That’s when I thought, BEHR recently launched a line of spray paints, why not change the colour to something that suites me and is fit for a parade!
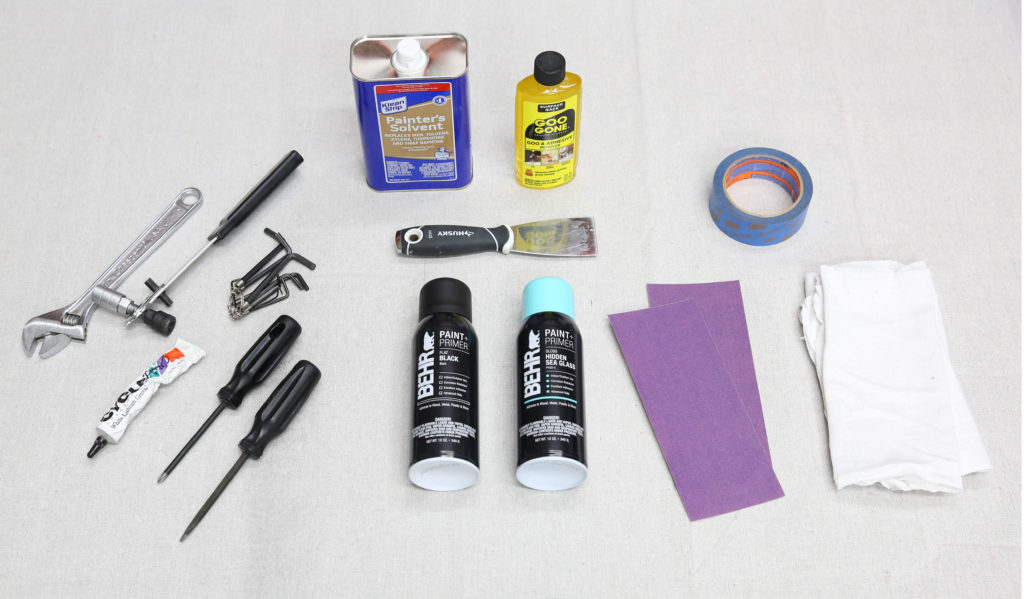
Materials:
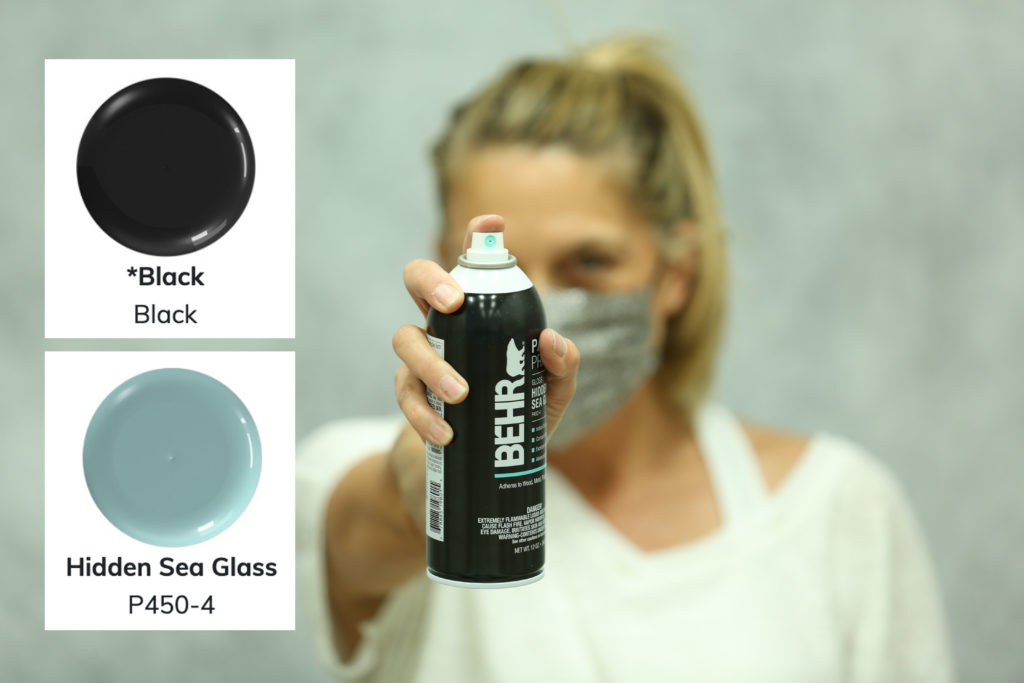
- Spray Paint: BEHR® Spray Paint,
- Frame: Black, Flat Finish
- Fenders and Basket: Hidden Sea Glass P450-4, Gloss Finish
- Bike Tools; Screwdriver, Allen Wrench, Hex Key Wrench
- Putty Knife
- Goo Gone (to remove sticker residue)
- Acetone (degreaser/de-glosser for cleaning bike)
- Sand Paper, use a fine grit so that you don’t scratch the Frame
- Cotton Rags
- Painters Tape
- Drop Cloth
- White Grease
- Optional: Gloves, Kraft Paper
Tip: When spray painting, make sure you are in a well-ventilated space. Outside is always best, but if you are in your garage, be sure to work closely by an open door. Also, spray paint carries with wind, cover all areas and items close by that you do not want sprayed.
Steps:
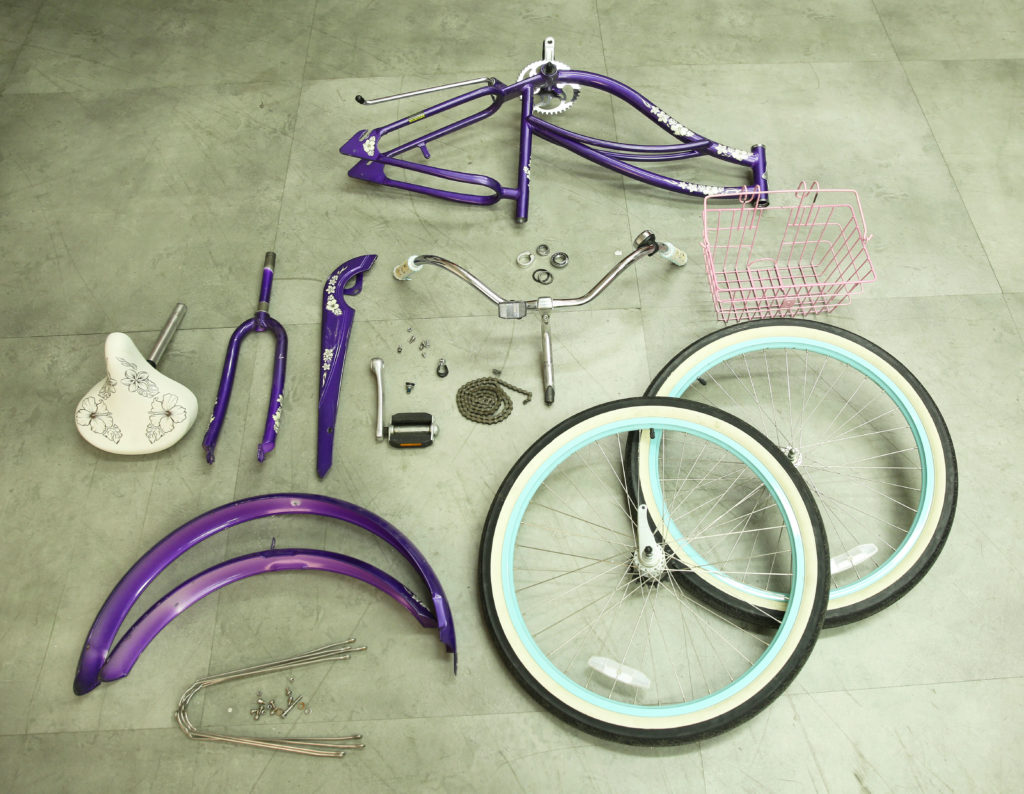
Disassemble
I was lucky enough to have a good friend help me with this part. He used to work in a bike shop, this was second nature to him. However, if you have never taken a bike apart you will want to watch a few YouTube videos to help get you familiar with the process. As you take pieces apart, it is helpful to keep all the hardware organized for reassembling. It is very easy to mix up what goes where, even if you are familiar with the process.
Start with the seat and handlebars.
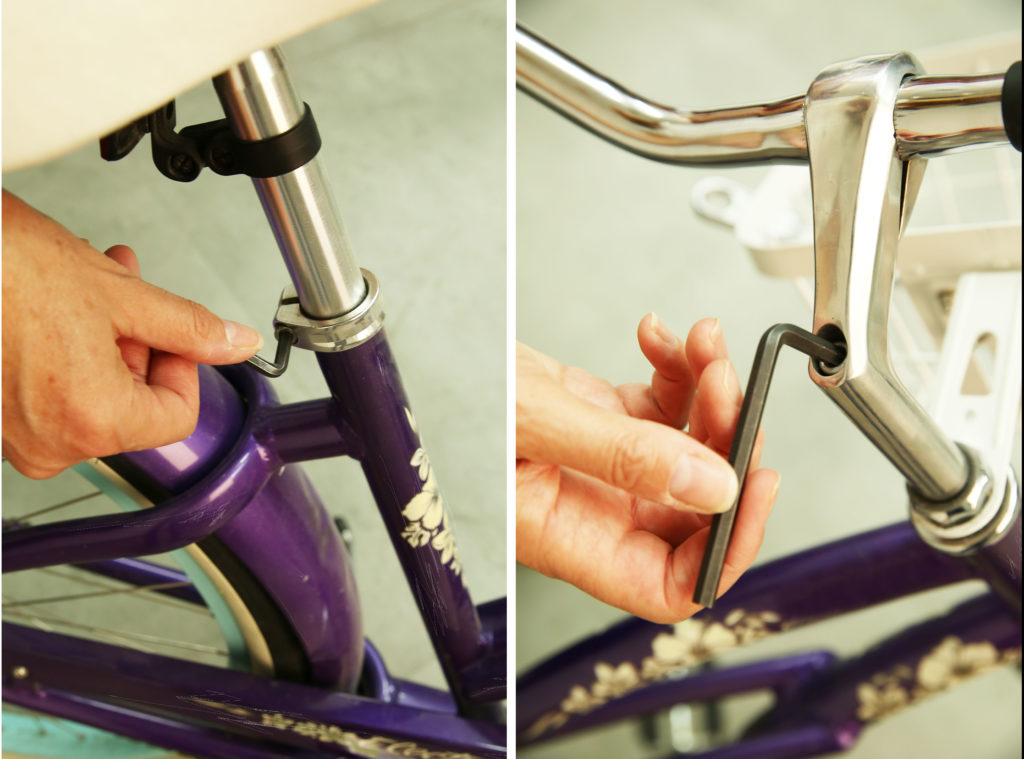
Flip the bike over so that you can disassemble the rest.
Prep Bike Parts for Spray Paint
This is so important! You want to remove any oils, sheen or sticker residue from the bike parts so that you have a clean, slightly scuffed surface for the new spray paint to adhere to. If you have any cracked or peeling paint you need to remove and sand down so that it is smooth. If you spray paint over cracked or peeling paint, your new coat of paint will crack and peel.
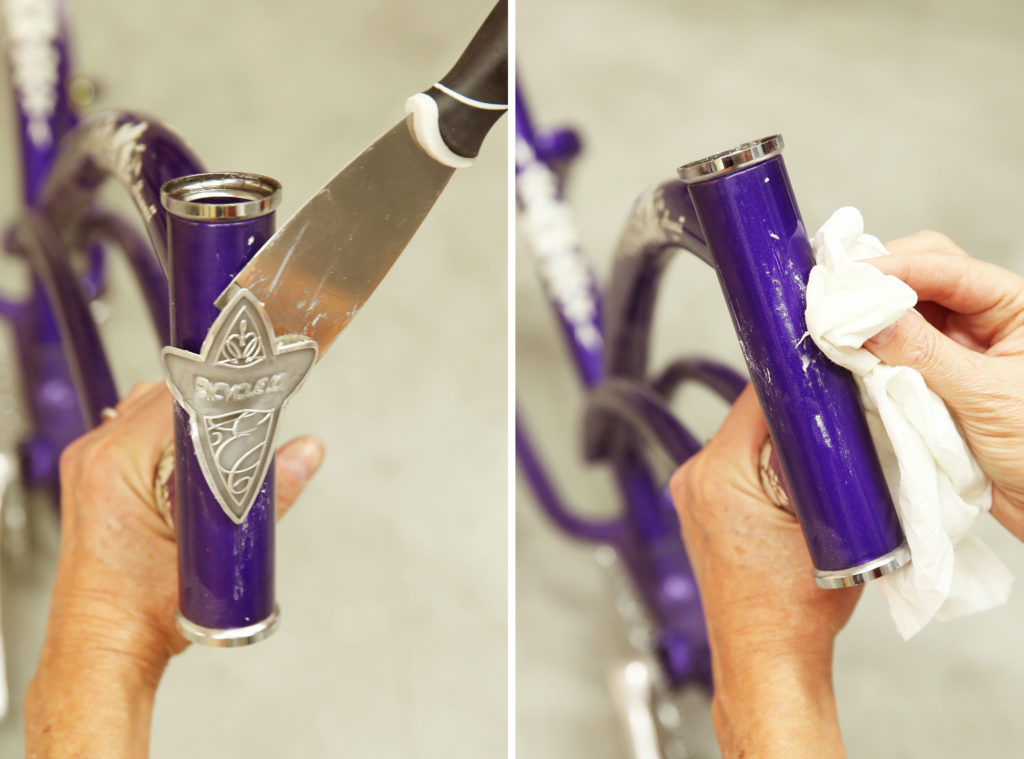
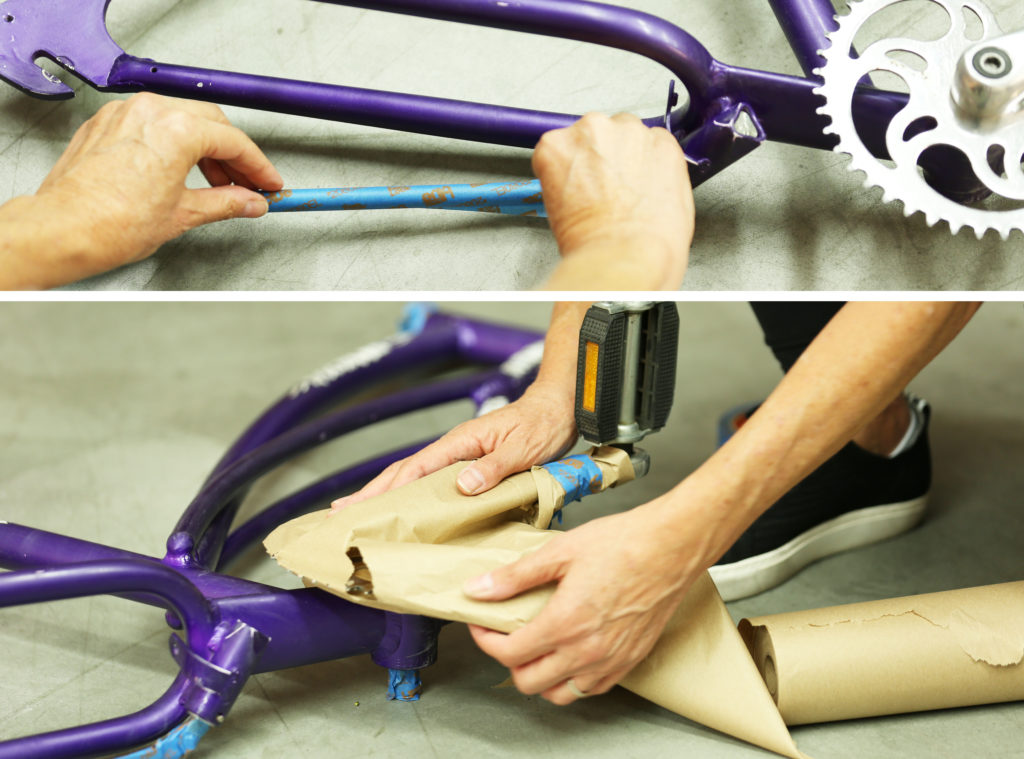
Use putty knife to remove stickers and Goo Gone to remove any sticker residue.
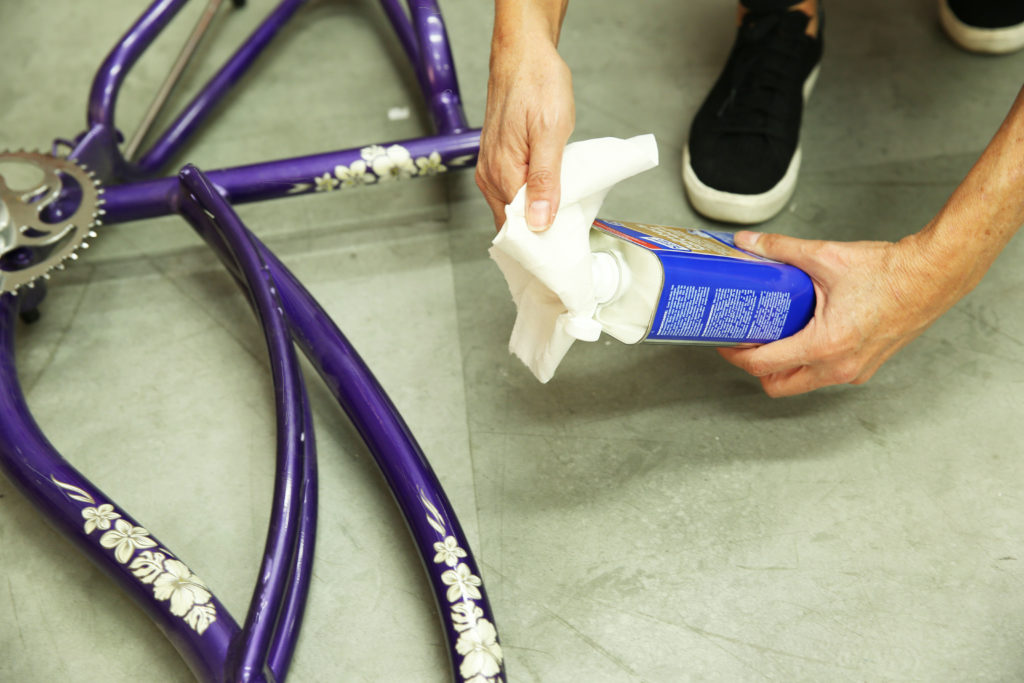
Clean the bike thoroughly using a cloth rag and Acetone.
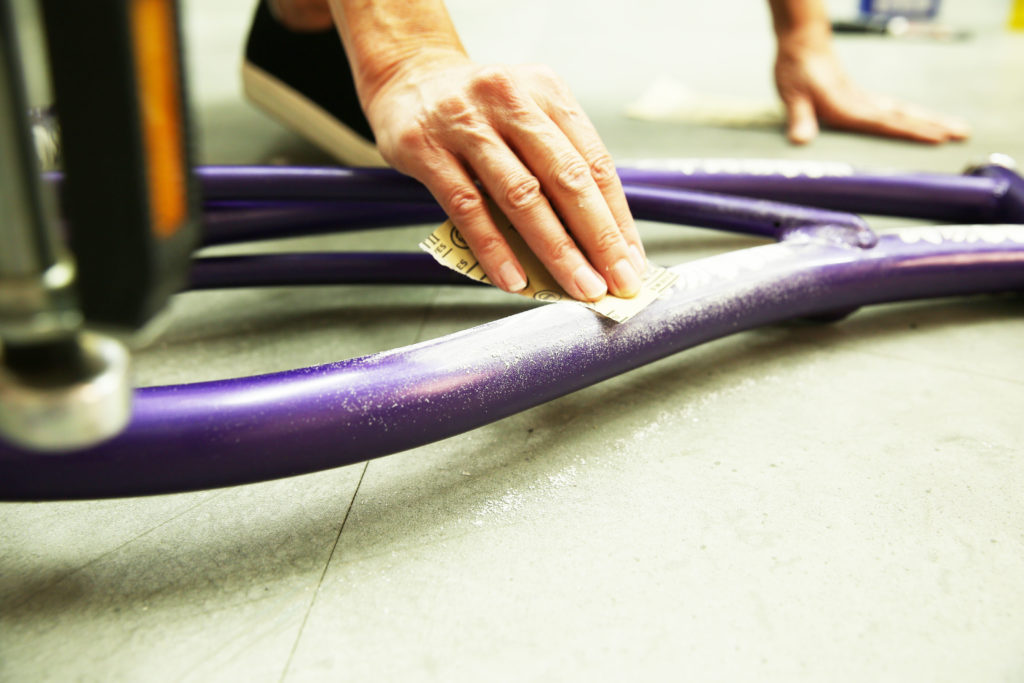
Lightly sand the bike all over. Work a little harder in areas with scratches to smooth out. If you have parts that show paint peeling, you will want to remove the peeled paint and sand down completely so that it is smooth.
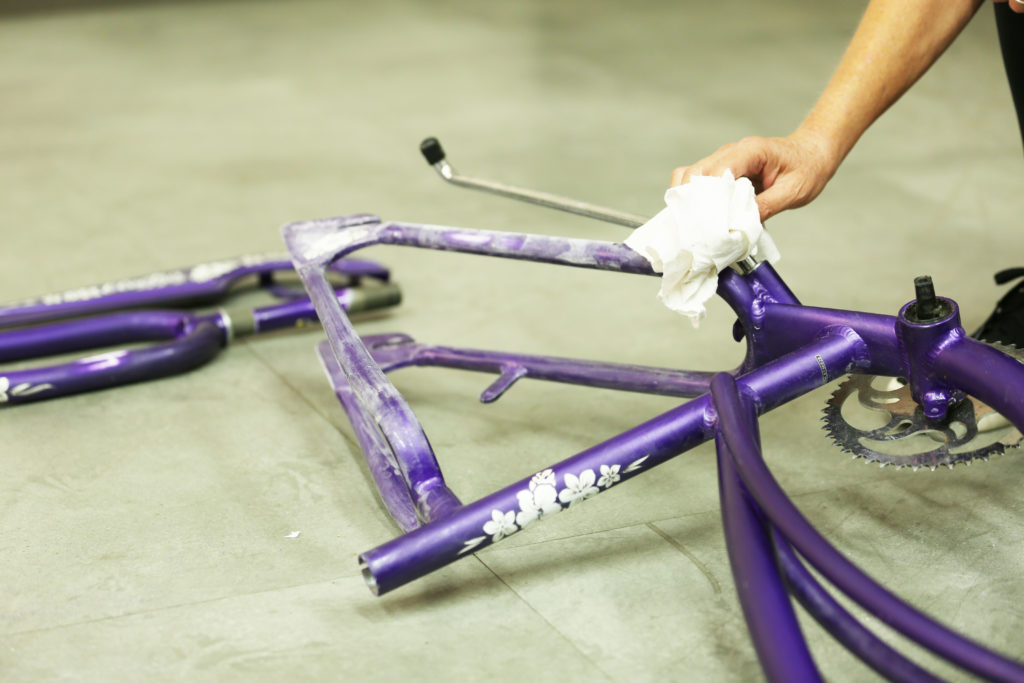
After sanding, with a cloth rag, once again, clean the entire bike with Acetone.
Use Painter’s Tape and Kraft Paper to block off any areas you do not want spray painted.
Spray Paint the Bike Parts
Set up outside or in a well-ventilated area. Cover the ground with a drop cloth and cover the areas around you that you do not want any spray paint on. When spraying, press firmly on nozzle, moving in one direction, spraying off the edge of the item like a fan.
Let go, then press again and move in the opposite direction. Back and forth as you move along the piece. Your first coat will look “sloppy” and may not cover fully. That is OK. The second coat will have everything looking good!
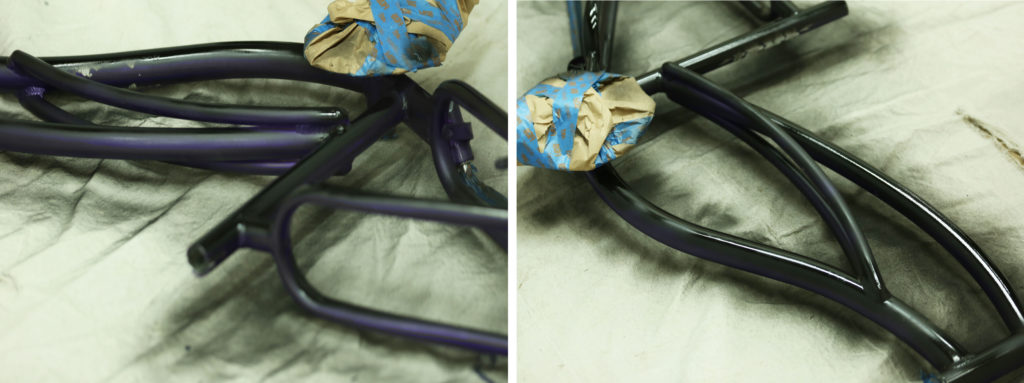
Make sure to let pieces completely dry before flipping over to the other side. With the Flat finish, you will see what appears to be sheen go away as the paint dries. You can use old paint buckets to prop up parts. The spray paint caps work well also.
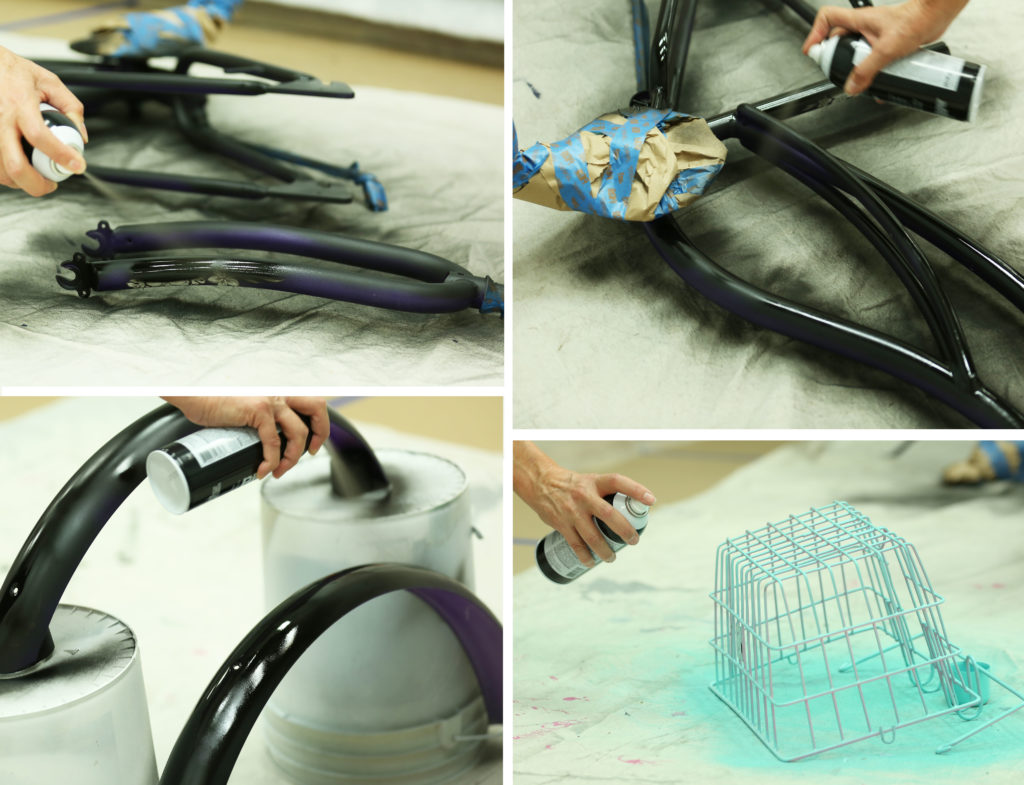
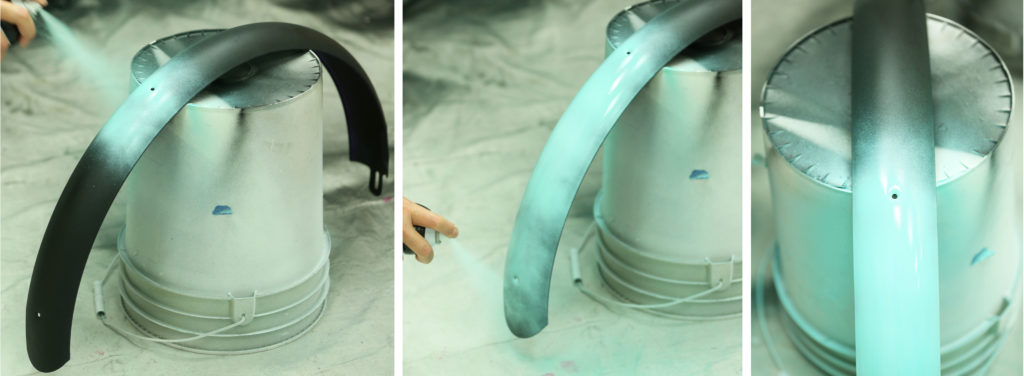
Blending Two Colours with Spray Paint
I used a second colour on the Black painted fenders to make the bike more interesting. To get a blended look between the two colours, once the Black is completely dried, hold the Hidden Sea Glass spray paint, a little further away than normal, starting at the top section. As you move down the piece, bring the spray can closer to the piece and you will see the colour going on more solid. On the second coat of Hidden Sea Glass, start at the bottom, as you move up the piece, pull your spray can further away as you meet up with the feather area.
Once all pieces are painted, remove Tape and Kraft Paper. Make sure to let paint dry overnight.
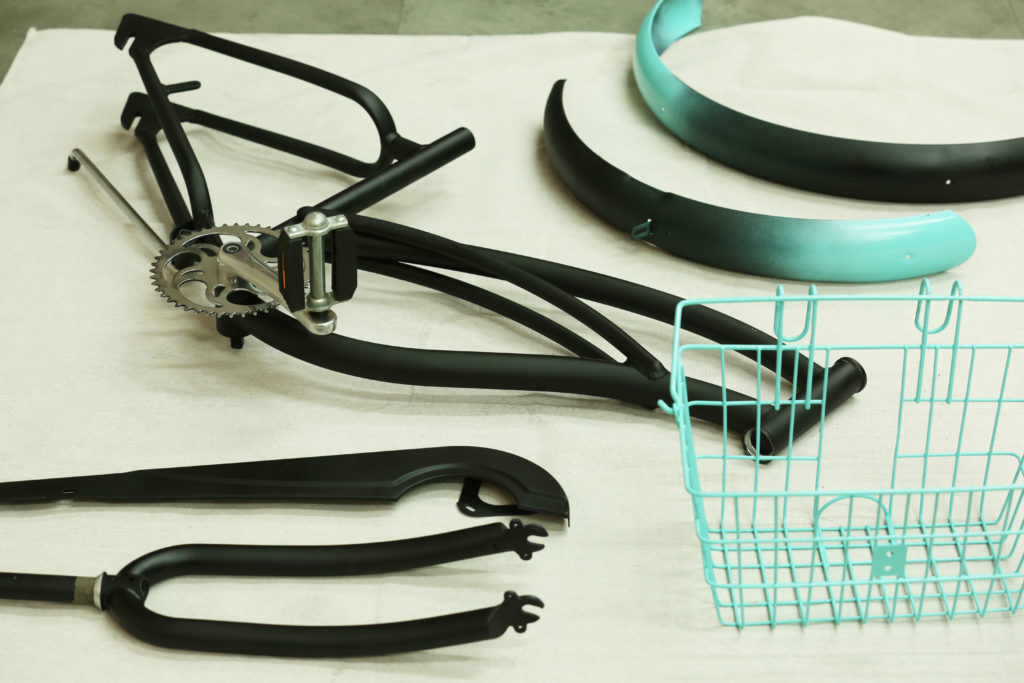
Re-assemble your bike.
Again, if you are not familiar with re-assembling a bike, watch a YouTube video to help you get familiar.
Add White Grease to the ball bearings before assembling. Then start with the seat and handlebars. Once they are assembled, flip over and do the rest.

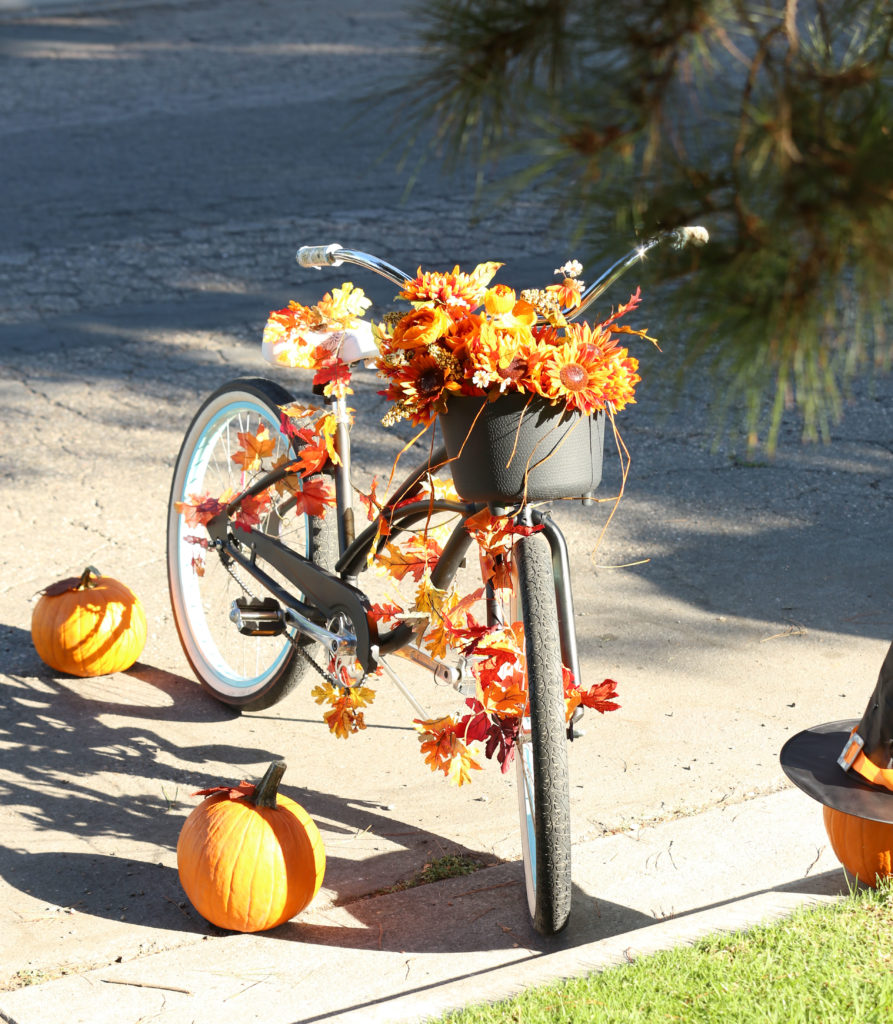
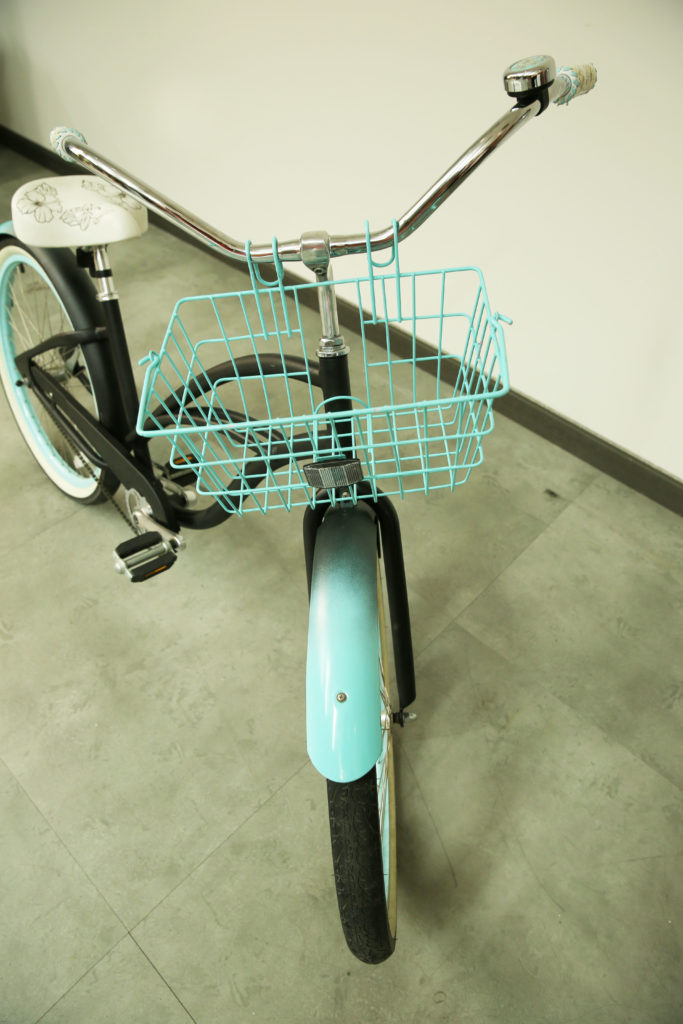
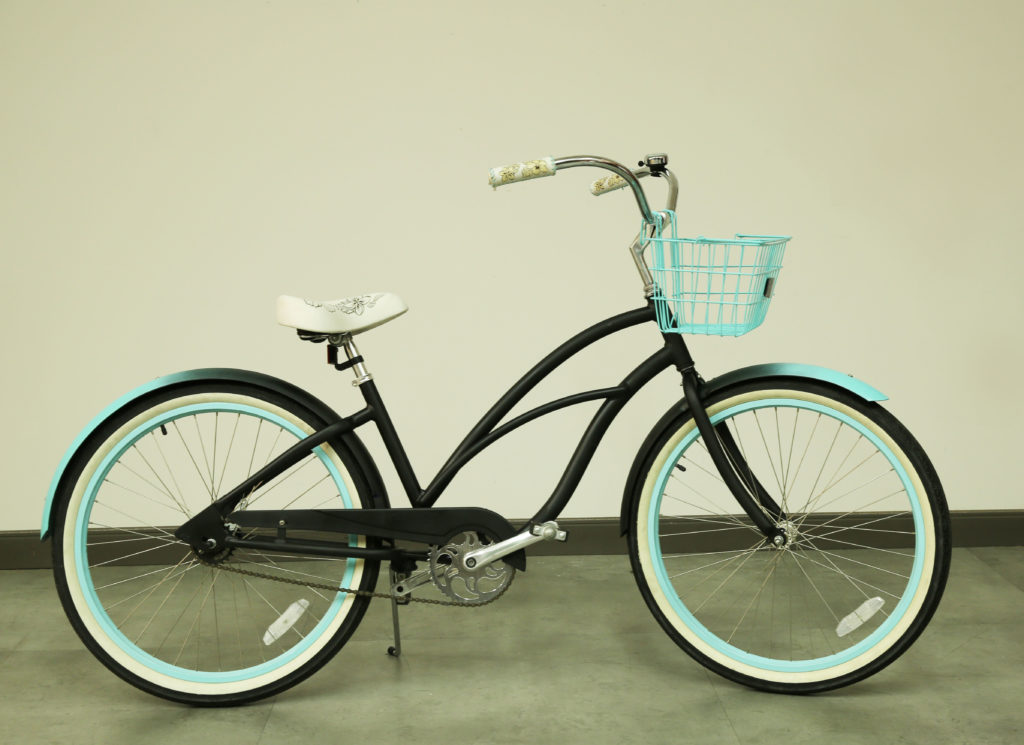
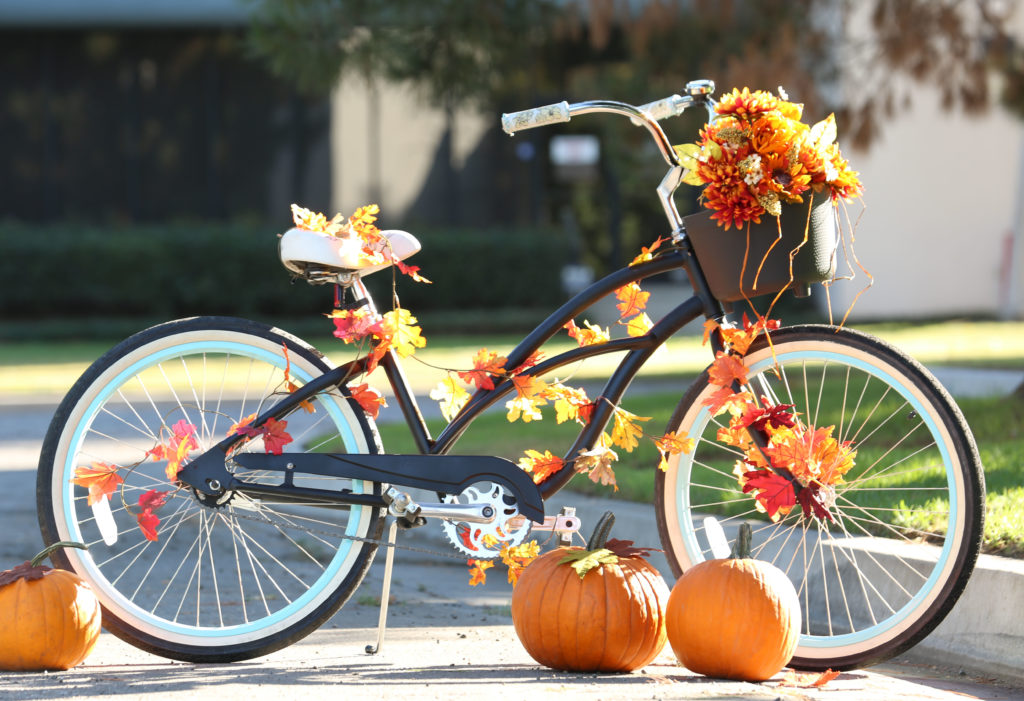
Enjoy your “new” bike!
Now that I gave my bike an upgrade, I was ready to decorate it for the bike parade. For this temporary style, I first removed the fenders and basket. I found some fall leaves to wrap around the bike. Make sure if you want to ride the bike that you place so that the bike is still functional. For the basket, I used a witch’s kettle filled with fall flowers. A simple way to make my bike work for the fall season and local bike parade!
Here are some helpful tips to keep in mind before starting your spray paint project:
- If you can’t spray paint outside, make sure to work in a well-ventilated area.
- Disassemble what you can before spray painting. It makes it much easier to work with. Just be sure to remember how to put it back together!
- Do not skip the prep work. Removing any cracked/peeling paint, sanding and cleaning help the spray paint to adhere and go on smoothly.
- As you spray, make sure to move back and forth, lifting your finger off the nozzle as you move from one direction to the other. This will help avoid paint puddling.
- Do not worry about the first coat looking good or covering everything. The next coats will melt into the previous coat giving you a smooth coverage.
- Make sure to let your paint dry completely between coats.
- Let everything dry overnight before re-assembling.
For more inspiration, tips and colour tools, visit our Colour Studio at behr.ca
Colourfully Yours,
Larayne