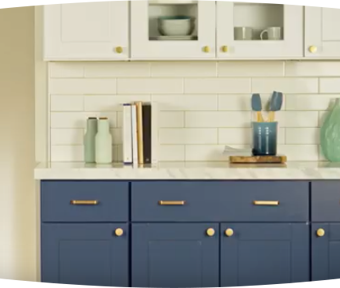
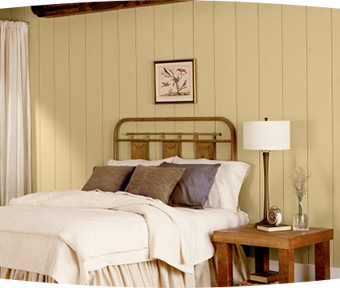
 Back to Interior Painting How-To's

How to Paint on Wallpaper
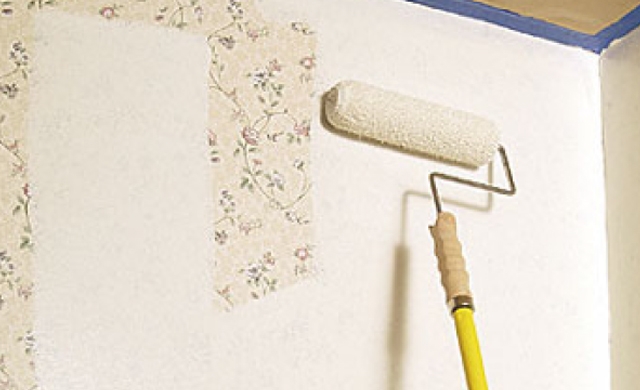
If your wallpaper is in good condition, without peeling areas and holes, try painting over it instead of replacing it, for a fresh new look.
For Best Results:
If your wallpaper is textured, the texture may be visible even after the wall is painted. To avoid this, it is best to remove the wallpaper from the wall.
Water-based paints and primer may reactivate the wallpaper glue resulting in unwanted peeling. To avoid, prime wallpaper with a BEHR® Oil-Based Primer to seal the surface.
Suggested Tools & Supplies
-
Brush 5.1 - 6.4 cm (2"-2-1/2")
-
Bucket
-
Bucket Grid
-
Extension Pole
-
Vinyl Gloves
-
Ladder
-
Paint Can Opener
-
Paint Tray
-
Paint Tray Liner
-
Rags
-
Roller Cover and Frame
-
Stir Stick
-
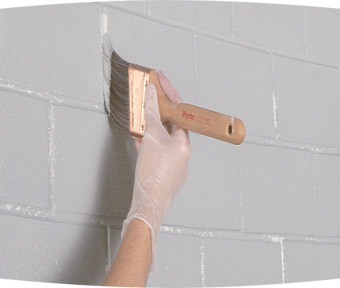
Step 1
Secure loose seams with wallpaper paste so they lie flat. Remove any residue, dirt or grime from the wallpaper. Even out wallpaper seams by applying drywall mud to the seams, allowing to dry and sanding smooth. Remove any dust from sanding with a damp cloth and allow the surface to dry completely.
-
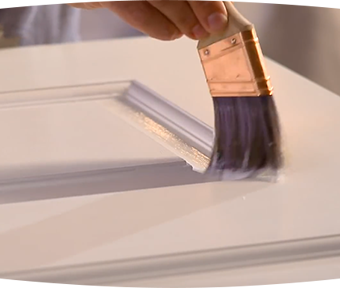
Step 2
With your brush, paint (cut in) around the perimeter of the wallpapered surface. Start at a top corner and continue along the ceiling and around the baseboards.
TIP: To avoid drips, tap off the paint against the inside wall of the bucket.
-
Step 3
From the bucket, pour paint into a tray and work your roller into the tray until it is fully loaded with paint. For best results, use a 9.5 - 13 mm roller cover.
TIP: For larger areas, consider using a 18.9L bucket and a bucket grid.
-
Step 4
Starting in a 91 x 91 cm section at the top corner of the project area, roll the paint onto the wallpaper in a "W" formation.
TIP: For an even application, begin 7.6 - 10 cm away from the cut in section.
-
Step 5
Work the roller back and forth across the section until the "W" is completely filled in. Be sure to roll over the cut in area as well.
TIP: Reload the roller when necessary and maintain a wet edge.
-
Step 6
Forming a column from ceiling to floor, paint the next 91 x 91 cm section directly below the previous one.
TIP: To blend the 91 x 91 cm sections and ensure a uniform finish, lightly pass the roller over the newly painted area.
-
Step 7
Repeat the process of forming columns and blending sections until the project is complete.
TIP: For optimum results in quality of color and finish, apply a second coat.
ADDITIONAL RESOURCES

PAINT AND STAIN CALCULATOR
Inside or outside; paint or stain: Let’s figure out how much you’ll need to make amazing happen.
Calculate
ASK AN EXPERT
Every project is unique: Keep small wrinkles from becoming big problems by letting the Behr Technical Experts lend a hand.
Get Expert Help
COLOUR STUDIO
So many colours and so many ideas: Visit Behr’s Colour Studio for inspiration, colour tools, design advice and everything you need to find your project’s perfect colour.
Colour Studio


