Solving Paint Problems with Older Homes
Strategies Pros Should KnowOlder homes possess a charm loved by many. While the history and unique details make them attractive to homebuyers, they also make repairs and repaints more challenging for pros. Each project requires astute problem-solving skills and knowledge of products and standards to ensure success.
Peter Schumerth, VP of Product Management, discusses three common problems and strategies to help you restore that old beauty.
Properly Handle Mould and Mildew
Mould and mildew are not uncommon, especially in older homes. When you find the telltale signs of mould or mildew (discoloration, smells, peeling paint, warped substrate, etc.), first things first: Ensure the source of the moisture is fixed.
Next, it’s time to remove the mould and mildew.
“There are many ‘mould-killing primers’ out there,” says Schumerth. “This can create the perception that you can slap the primer on over the mould and mildew, and you are good to go.”
While the mildewcide in these products will help fight both in the future, you need to remove any mould and mildew present before priming. Clean affected hard surfaces with detergent and water or a suitable mould and mildew cleaner, following the product label directions, then allow the surface to dry completely. Commercially available mould and mildew cleaners can help remove stains and visible growth.
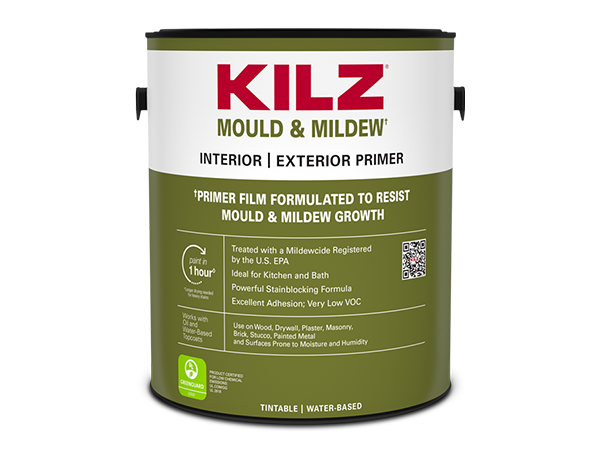
Once the surface is clean, dry, and sound, consider applying a product like KILZ® Mould & Mildew Primer as the final prep step before painting to help protect the surface against future mould and mildew growth on the primer film.
Assess the Current Coatings
With older homes, you do not always get to start with a fresh new palette. You can try to talk your clients into taking it down to bare substrate, but time and budget rarely allow that option. This means that each layer of built-up coating has the potential to affect your finished project, requiring additional consideration when choosing prep steps and selecting a paint and/or primer.*
Start with a thorough assessment of the surface to check for adhesion issues. “You can do this by making a simple ‘X’ mark with a razor (cut as deep as you can and in multiple locations), then do the tape test,” advises Schumerth. “This test allows you to evaluate the integrity of the layers underneath.”
Paint coming up with the tape indicates an adhesion issue. Depending on how large an area peels, you’ll need to either spot sand and prime or do a full sand and prime to ensure you have a smooth, sound surface for your topcoat.
Choose the Right Paint
Each new layer of paint creates tension on existing coatings. Even if your topcoat adheres beautifully to the coating immediately beneath, you need the bridge between each coating below it to hold as well.
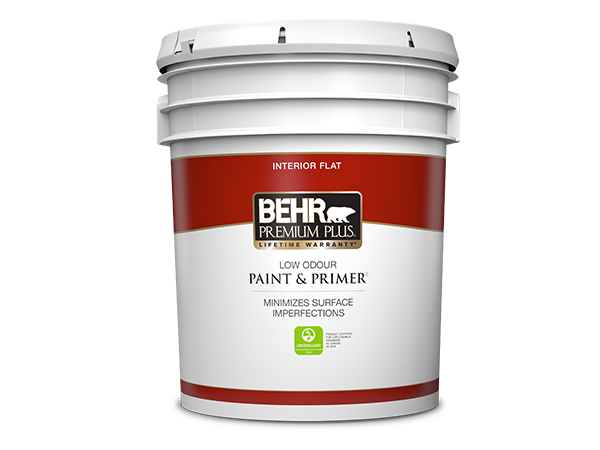
“For older homes, I recommend BEHR PREMIUM PLUS® due to its lower binder content. Higher binder and resin content can create more tension, causing additional adhesion stress on the coatings beneath it,” says Schumerth.
While older homes require knowledge and diligence from a pro painter, painting older homes can be a very rewarding and lucrative market.
To learn more about Behr's products contact your local BEHR PRO Rep.
* If you encounter significant mould, water damage, or structural concerns, consult a licensed professional to assess current conditions before proceeding. The guidance provided here is intended for general informational purposes only and may not apply to all situations.
READY TO GET STARTED?

CONTACT A BEHR PRO® REP
Your reputation depends on your ability to do the job right. BEHR can help.
Find a rep

JOIN THE HOME DEPOT® PRO XTRA LOYALTY PROGRAM
Get 10% - 20% Back in Quarterly Rewards
BEHR® Paints, Stains & Primers.

About Interior Paint Sheens
Get the look you want and the protection you need for any room in your home.
A flat sheen has a non-reflective finish that touches up well and hides minor surface imperfections.


Low-traffic areas; interior walls and ceilings
Ceilings
Medium-Low
A matte sheen has a low-luster, reflective finish that is durable, easy to clean, touches up well and also hides minor surface imperfections.
Low-traffic areas; interior walls
Family rooms, living rooms, kids' rooms, bathrooms, dining rooms, ceilings
Medium
An eggshell enamel sheen has a soft, velvety appearance that resists dirt and grime, as well as mildew.
Moderate-traffic areas
Family rooms, living rooms, bedrooms, kids' rooms, hallways, dining rooms
Medium
A satin enamel sheen has a pearl-like finish that's easy to clean.
All interior surfaces; moderate- to high-traffic areas
Family rooms, living rooms, bedrooms, kids' rooms, hallways, kitchens, bathrooms, doors, windows, trim, cabinets, shutters, interior furniture
Medium-High
A semi-gloss enamel sheen is sleek and radiant resisting mildew, moisture and wear.
Cabinets and trim; high-traffic, high-moisture areas
Kids' rooms, hallways, kitchens, bathrooms, doors, windows, trim, cabinets, shutters
High
Hi-Gloss enamel sheens provide have a brilliant, shiny appearance and a durable, glass-like finish that allows dirt and grime to be wiped clean.
High-use surfaces
Kitchens, bathrooms, doors, windows, trim, cabinets, shutters, interior furniture
High
About Exterior Paint Sheens
Set the right curb appeal with exterior painting efforts that last.
A flat sheen is non-reflective, and easy to apply and touch up. It will minimize the appearance of minor surface imperfections.
Wood and vinyl walls and siding; brick and other masonry; fences
Medium-Low
A satin enamel sheen creates a pearl-like finish that's durable and dirt-resistant. It will also resist moisture, fading and stains.
Virtually all exterior surfaces
Medium-High
A semi-gloss enamel sheen is sleek and radiant with a hard, durable finish. It is formulated to withstand wear, and will also resist moisture, fading and stains.
Doors, trim and shutters; Exterior furniture
High
Hi-Gloss enamel sheen have a brilliant, shiny appearance and a durable, glass-like finish that allows dirt and grime to be wiped clean.
High-use surfaces
High






- Same-Day, Next-Day Delivery*
- Call, Text, or Email Your Paint Order
- Will Call & Schedule Deliveries
- Custom Color Matching
- Product & Record Order Management
- Expert Paint Knowledge
- Same-Day, Next-Day Delivery*
- Call, Text, or Email Your Paint Order
- Will Call & Schedule Deliveries
- Custom Color Matching
- Product & Record Order Management
- Expert Paint Knowledge

- Get 10%-20% back in quarterly rewards on BEHR® Products when you join Home Depot's Pro Xtra™ loyalty program
- Call, Text or E-mail your orders to your dedicated BEHR PRO Paint Specialist
- Arrange will call & Schedule Deliveries for pick-up at your Home Depot location or for delivery to you