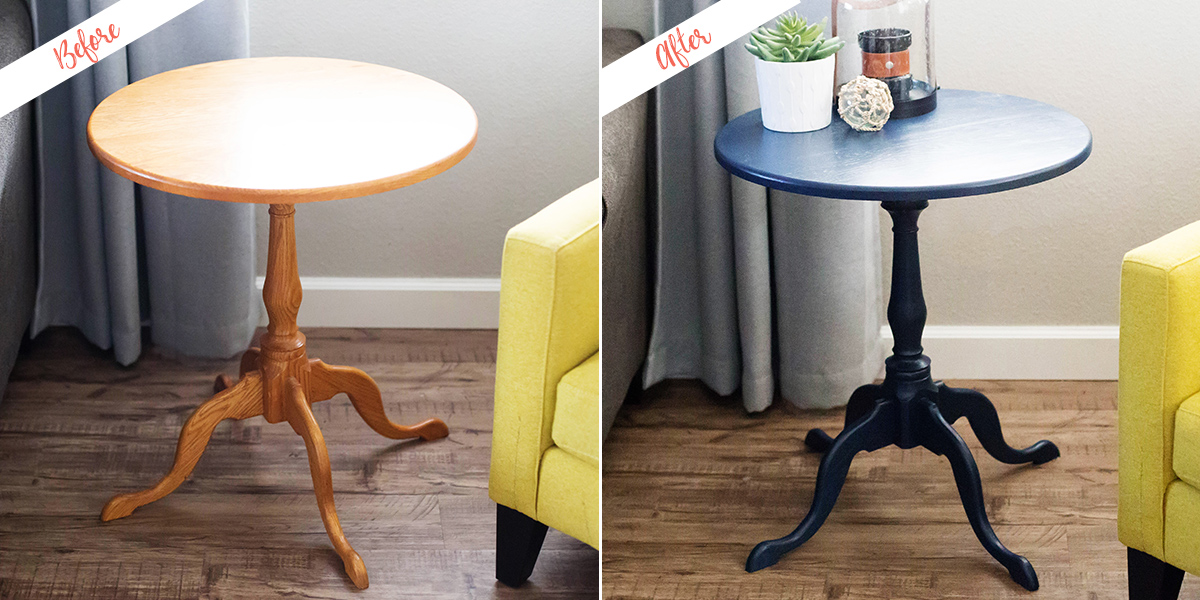
MEANINGFUL SIDE TABLE MAKEOVER
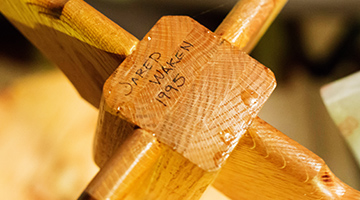 My husband and I met in 1997 and have been together ever since. Not many things we own have been with us as long as that! When we got married, my mother-in-law gave me a side table that my husband, Jared hand-turned in 1995 in high school woodshop. It really is a gorgeous piece of furniture!
We’ve had the table shoved in a corner, but I recently rearranged the family room and had a perfect spot for it out where it can be seen. I had 2 problems with the table though. First, it’s not my furniture style and second, it’s not my colour/finish style. Knowing I could really only change one of those things, I figured it didn’t hurt to try a gorgeous new colour.
A new colour can transform a piece from something you'd never use into something you love.
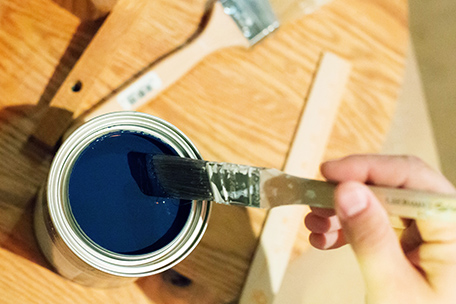
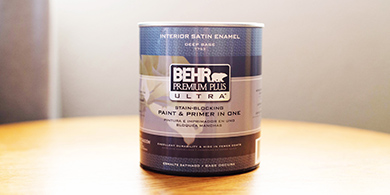
The only thing I didn’t have at home was the perfect paint colour. I wanted a neutral colour but there is such a wide variety of gorgeous Behr colours calling to me! I finally ended up purchasing a quart of BEHR PREMIUM PLUS ULTRA® Interior Satin Enamel in the colour Starless Night.
A beautiful navy goes well with many bright and neutral accent colours.
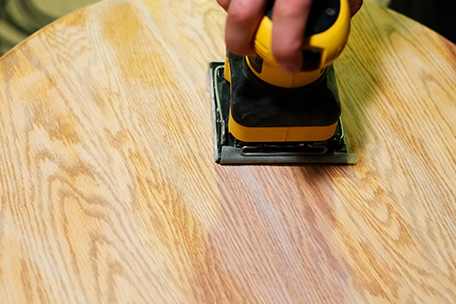
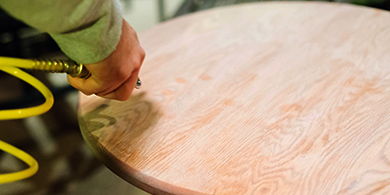
One evening, when my husband was around to work on DIY projects with me, we had some extra time and got to work on the table. First, we sanded the table all over using a 150 grit sandpaper. An electric sander works great for the top, but the small legs and base were all done by hand.
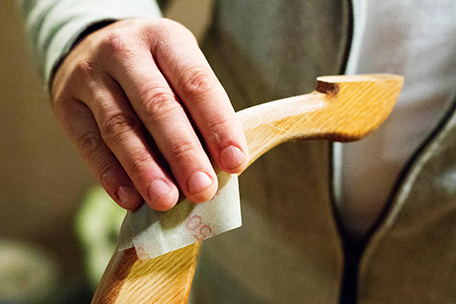
Once sanded and roughed up (so the paint adheres well), we cleaned the table with an air compressor. This isn’t necessary but makes cleaning up the table that much easier. After the dust was blown off, we finished cleaning up the table with some tack cloth and then finished off with a lint-free cloth for good measure. The cleaner the piece, the better the outcome will be!
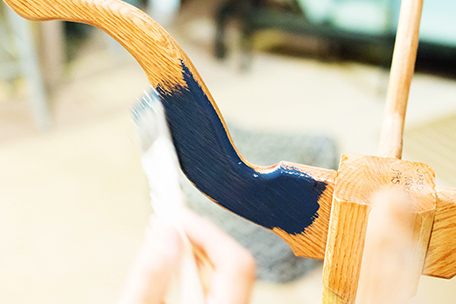
Now for the fun part! We took our time with the first coat of paint, making long brush strokes. It was a cooler evening, so it took the paint a little longer to dry, but made for a smoother finish because the paint had a little more time to settle. Once completely dry, we added the second and final coat.
TIPS AND TRICKS
 When choosing a colour, look up the exact colour online or use the in-store kiosk to see the colour on a large wall or surface. You'll get a better idea of the undertones and what the colour will look like on a large piece.
 Cleaning the piece after sanding is such an important step in your finished product, don’t shortcut. Make sure it’s completely free of any dust and debris.
How gorgeous is this colour?!
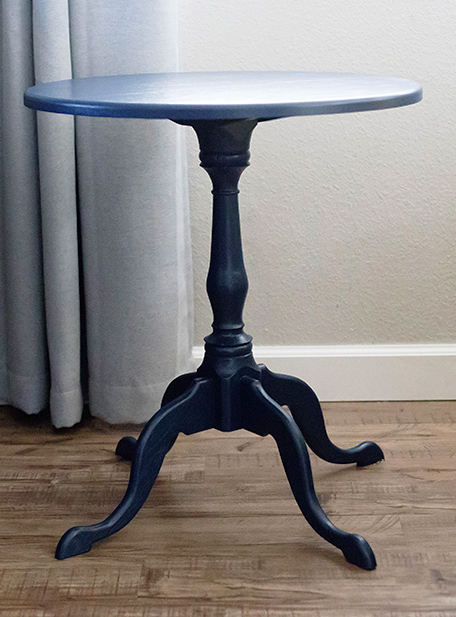
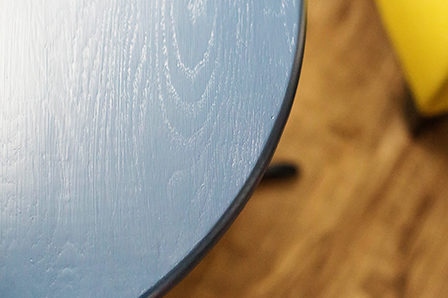
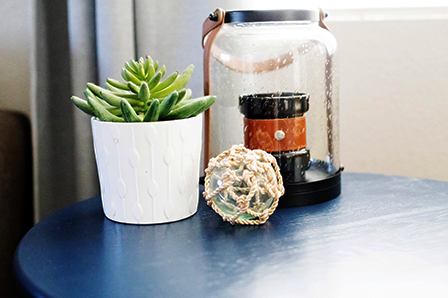
I am really pleased with how the paint took to the table and how smooth and beautiful the finish is.
Even better, I really love how the gorgeous colour transformed this table into something I love showing off – even if the style of the table isn’t something I would have purchased. It’s all about the memories!
READY TO DIY?
Find your colour, pick your paint, and be inspired.
When you're ready, buy your paint online.
- Explore colours on your own or browse through our curated collections.
- Choose colours, room images, calculate quantities and more.