How to Prepare & Coat a Garage Floor
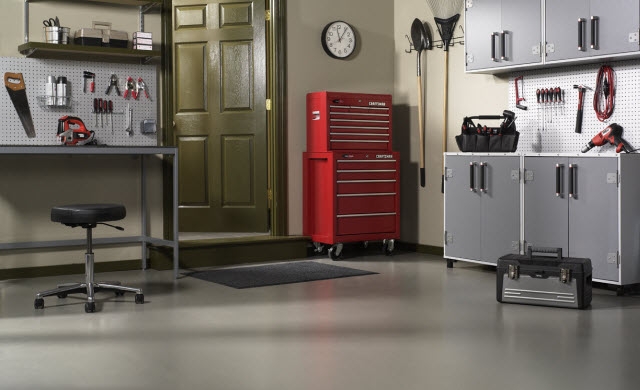

A great looking finish begins with the right start. Following the proper prep procedures will dramatically affect the look and longevity of your finished project.
For Best Results:
Before any coating is applied to the surface, be sure to etch and clean uncoated concrete. Already coated concrete needs only to be cleaned.
Once the surface is clean and dry, apply BEHR PREMIUM® Concrete & Masonry Bonding Primer to any uncoated surface.
For coated concrete surfaces, see the coating product label for primer recommendations.
- Bucket
- Broom (Stiff Bristle)
- Brush 5.1 - 6.4 cm (2"-2½")
- Bucket Grid
- Chemical Resistant Gloves
- Extension Pole
- Hose
- High pressure Nozzle
- Mop
- Paint Can Opener
- Paint Tray
- Paint Tray Liner
- Protective Apparel
- Pump Sprayer
- Rags
- Roller Cover
- Roller Frame
- Stir Stick
How to Clean and Etch a Garage Floor
-
Step 1
Using a rag, wipe off all oil and grease spills from the concrete surface. Remove all dirt or debris with a broom.
TIP: New concrete must cure for 30 days before you can clean it or apply a topcoat.
-
Step 2
Pour a concrete and masonry cleaner and etcher into a plastic watering can or plastic pump sprayer. Using the sprayer, apply the product to the uncoated concrete floor. Allow the product to remain on the surface for 10-20 minutes.
-
Step 3
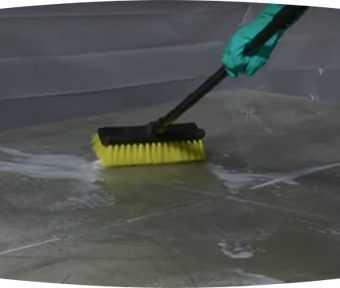
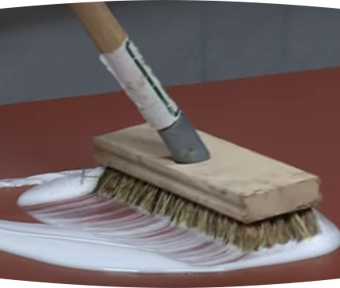
Using a stiff bristled, non-metal brush or broom, vigorously scrub the concrete surface. DO NOT allow the surface to dry.
TIP: Heavily stained areas or older stains may require additional treatments.
-
Step 4
Thoroughly rinse the entire concrete floor with clean water using a garden hose with a high-pressure nozzle, or a pressure washer.
-
Step 5
Using a non-metal squeegee or mop, remove the excess water from the entire project area.
-
Step 6
Allow the area to dry.
TIP: The surface is ready for priming when it feels like medium grit sandpaper and no residue or loose concrete remains.
How to Prime a Garage Floor
-
 Step 1
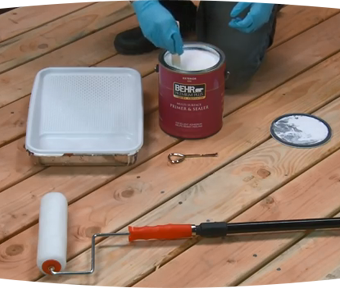
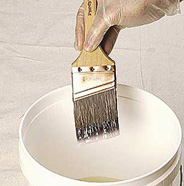
Pour thoroughly mixed primer into a bucket and dip a quality 5.1 - 6.4 cm (2"-2 ½") wide nylon/polyester brush into the primer.
TIP: Before you apply a surface coating to your uncoated concrete, use CONCRETE & MASONRY BONDING PRIMER NO. 880. This type of primer is specially formulated for uncoated concrete surfaces and will give the coating ultimate durability and protection.
-
Step 2
With your brush, paint (cut in) a 5.1 - 7.6 cm (2"-3") wide area around the perimeter of the garage floor. Start in a corner and continue along the edge of the wall.
-
Step 3
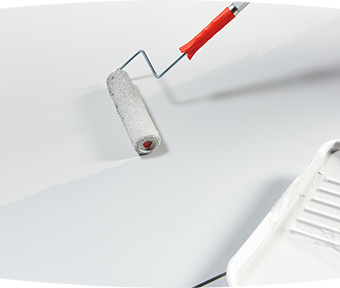
From the bucket, pour primer into a paint tray and work a roller into the tray until it is fully loaded with primer. For best results, use a 6.4 - 9.5 mm (1/4" - 3/8" ) nap roller, nylon/polyester brush or a pad applicator.
TIP: For larger areas consider using a 5-gallon (18.9L) bucket and a bucket grid.
-
Step 4
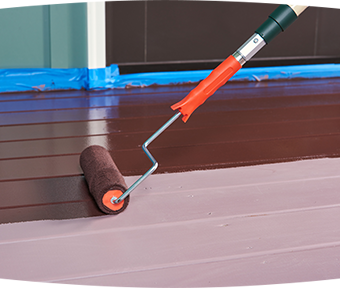
Starting at a corner of the floor, roll the primer onto a 1.2 m (4') long x 0.6 m (2') wide section.
TIP: Attach an extension pole onto the roller frame.
-
Step 5
Reload the roller with primer and continue to the next 1.2 m (4') long x 0.6 m (2') section. As you go, roll back into the previously applied area.
TIP: Be sure to roll over the cut in area as well.
-
Step 6
Repeat the process until the entire floor is covered. Allow the surface to dry a minimum of 8 hours before applying a topcoat.
How to Coat a Garage Floor
-
Step 1
Pour thoroughly mixed floor coating into a bucket and dip a quality 5.1 - 6.4 cm (2"-2½") wide nylon/polyester brush into the coating.
TIP: To avoid drips, tap off any excess coating against the inside wall of the bucket.
-
Step 2
With your brush, paint (cut in) a 5.1 - 7.6 cm (2"-3") wide area around the perimeter of the floor. Start in a corner and continue along the edge of the wall.
-
Step 3
From the bucket, pour the floor coating into a paint tray and work a roller into the tray until it is fully loaded with coating. For best results, use a 9.5 mm (3/8") nap roller, nylon/polyester brush or an airless sprayer (0.38mm (.015") -.0.53 mm (.021") spray tip, 60 mesh filter).
TIP: For larger areas consider using an 18.9 L (5-gallon) bucket and a bucket grid.
-
Step 4
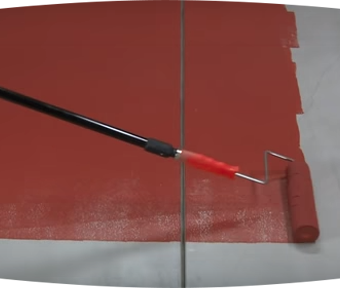
Starting at a corner of the floor, roll the coating onto a 1.2 m (4') long x 0.6 m (2') wide section.
TIP: Attach an extension pole onto the roller frame.
-
Step 5
Reload the roller with coating and continue to the next 1.2 m (4') long x 0.6 m (2') section. As you go, roll back into the previously applied area.
TIP: Be sure to roll over the cut in area as well.
-
Step 6
Repeat the process of painting sections and back rolling until the project is complete.
More How-Tos


PAINT AND STAIN CALCULATOR
Inside or outside; paint or stain: Let’s figure out how much you’ll need to make amazing happen.
Calculate
ASK AN EXPERT
Every project is unique: Keep small wrinkles from becoming big problems by letting the Behr Technical Experts lend a hand.
Get Expert Help
COLOUR STUDIO
So many colours and so many ideas: Visit Behr’s Colour Studio for inspiration, colour tools, design advice and everything you need to find your project’s perfect colour.
Colour Studio Back to Floor Coatings How-To
